%20Logo-01%20jpeg.jpg)


Learning the ancient art of Kintsugi

This article originally appeared in the Summer 2026 print issue of the Anglian Potters Newsletter.


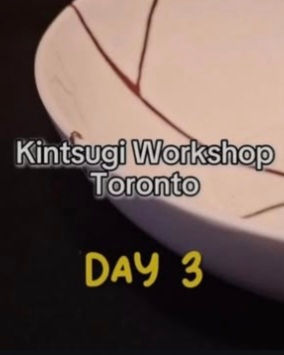
Click on image to view Instagram reels
In April 2026, I went to Canada for a Kintsugi course led by expert Marie-Do Hyman-Borneu and hosted by my Toronto-based ceramicist friend Loren Kaplan.
During the three-day workshop, Marie-Do showed a group of seven eager ceramists the intricate and meditative process of– the centuries-old Japanese art of repairing broken pottery with gilded lacquer. Kintsugi literally means “joining with gold”. We covered the four steps of affixing, filling, lacquering and gilding our broken pottery. Each step required curing time in a damp box before moving onto the next stage.
Depending on the number of breaks, gaps, missing shards, the process of filling may require several applications of lacquer to completely cover the scars of the assembled ceramic. In our workshop, we only applied one layer each of jinoko and tonoko (powdered clay-type materials) and black lacquer.
The making process is slow, mindful, methodical and precise. Periods of quiet meditative activity, when one could hear a pin drop, were occasionally interrupted by an audible gasp for air following a disturbingly prolonged breath-holding moment.
The shared experience of gaining new knowledge with a diverse group of potters contributed positively to an atmosphere of creativity and community.
This short summary with photographs shows the process we followed. There are many stages with long periods of drying and curing between them. Making lacquer using traditional methods is an involved process and curing can take several months. Modern methods and materials can speed up the process, but on this course we stuck as closely as we could to the traditional ways.
Breaking our pots


In order to fix it, I had to break a piece first! My working piece was a porcelain bowl from my sample box. I was surprised not to feel a gut-wrenching pain from deliberately breaking a well thrown pot!
Assembling the pieces


Mix raw lacquer (made from the Urushi tree) with a pre-prepared flour and water mixture to create the glue.
Apply along the broken edges, assemble the pieces and hold together with masking tape.
Making the filler (Sabi)


Gently remove the excess glue with a circular blade.
Make a paste of mixing Jinoko (powdered clay) with lacquer.
Fill the scars and chipped areas of the ceramic with the paste.
After it has cured, scrape away the excess with the blade and wet sand.
Make another paste with lacquer and Tonoko (fine powdered clay) and apply to scars.
Wet sand the scars after curing in a damp box.
Lacquers


Apply a thin line of black lacquer on the scars with a thin brush.
Cure in a damp box.
Lightly sand with sandpaper and a little water.
Repeat the process if needed allowing to cure in a damp box between each step.
Tidy the lines with an exacto knife.
Gilding


Apply the red lacquer in a thin layer over all the black lines.
Sprinkle the scar with metallic powder – we used bronze powder.
Lightly burnish the gilded line with a soft brush.
Leave to cure in a damp box for at least 48 hours.
Rinse of excess powder and wash ceramic in soapy water.
The final piece

I chose only to gild two of the red lacquer lines leaving the other red lines untouched to provide a contrast in the decoration.


Comments